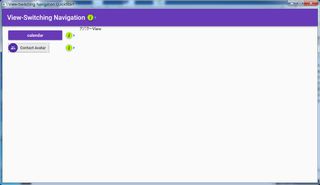
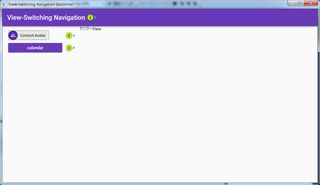
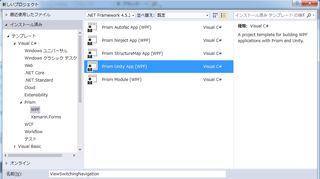
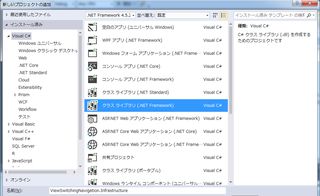
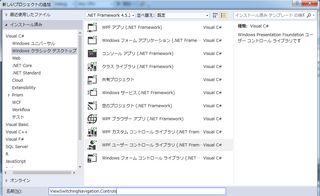
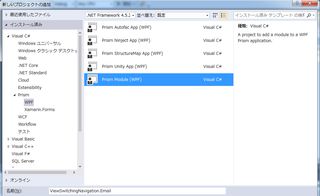
BootstrapperとShellPrism Template Pack のテンプレートを使えば既に作成済みの部分。
リージョン
View Discovery
regionManager.RegisterViewWithRegion("ContentRegion",typeof(ViewA));
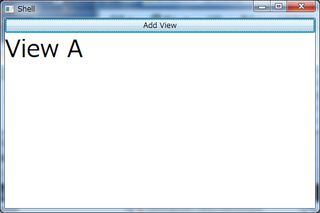
View Injection
private void Button_Click(object sender, RoutedEventArgs e)
{
    var view = _container.Resolve<ViewA>();
    IRegion region = _regionManager.Regions["ContentRegion"];
    region.Add(view);
}
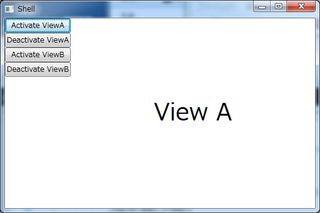
View Activation/Deactivation
private void Button_Click(object sender, RoutedEventArgs e)
{
    //activate view a
    _region.Activate(_viewA);
}

private void Button_Click_1(object sender, RoutedEventArgs e)
{
    //deactivate view a
    _region.Deactivate(_viewA);
}
Modules with App.config
<?xml version="1.0" encoding="utf-8"?>
<configuration>
  <configSections>
    <section name="modules" type="Prism.Modularity.ModulesConfigurationSection, Prism.Wpf" />
  </configSections>
  <startup>
  </startup>
  <modules>
    <module assemblyFile="ModuleA.dll" moduleType="ModuleA.ModuleAModule, ModuleA, Version=1.0.0.0, Culture=neutral, PublicKeyToken=null" moduleName="ModuleAModule" startupLoaded="True" />
  </modules>
</configuration>
Modules with Code
protected override void ConfigureModuleCatalog()
{
    var catalog = (ModuleCatalog)ModuleCatalog;
    catalog.AddModule(typeof(ModuleAModule));
}
コードで追加するのはモジュール化のメリット無いように思えましたが、モジュール変更の際ソリューション丸ごとビルドし直す必要無くなりますね。
protected override IModuleCatalog CreateModuleCatalog()
{
  return new DirectoryModuleCatalog() { ModulePath = @".\Modules" };
}
Modules loded manually
protected override void ConfigureModuleCatalog()
{
    var moduleAType = typeof(ModuleAModule);
    ModuleCatalog.AddModule(new ModuleInfo()
    {
        ModuleName = moduleAType.Name,
        ModuleType = moduleAType.AssemblyQualifiedName,
        InitializationMode = InitializationMode.OnDemand
    });
}
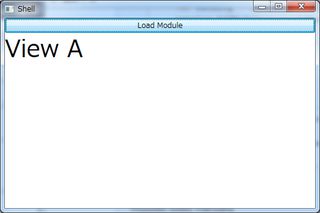
ロードはMainWindowのクリックイベントで。
private void Button_Click(object sender, RoutedEventArgs e)
{
   _moduleManager.LoadModule("ModuleAModule");
}
ViewModelLocatorの利用
ViewModelLocator - Change Convention
protected override void ConfigureViewModelLocator()
{
  base.ConfigureViewModelLocator();
  ViewModelLocationProvider.SetDefaultViewTypeToViewModelTypeResolver((viewType) =>
  {
      var viewName = viewType.FullName;
      var viewAssemblyName = viewType.GetTypeInfo().Assembly.FullName;
      var viewModelName = $"{viewName}ViewModel, {viewAssemblyName}";
      return Type.GetType(viewModelName);
  });
}
同一フォルダ内(ネームスペースが同じ)でクラス名にViewModelが追加されたものを探す。
ViewModelLocator - Custom Registrations
protected override void ConfigureViewModelLocator()
{
  base.ConfigureViewModelLocator();

  // type / type
  //ViewModelLocationProvider.Register(typeof(MainWindow).ToString(), typeof(CustomViewModel));

  // type / factory
  //ViewModelLocationProvider.Register(typeof(MainWindow).ToString(), () => Container.Resolve<CustomViewModel>());

  // generic factory
  //ViewModelLocationProvider.Register<MainWindow>(() => Container.Resolve<CustomViewModel>());

  // generic type
  ViewModelLocationProvider.Register<MainWindow, CustomViewModel>();
}
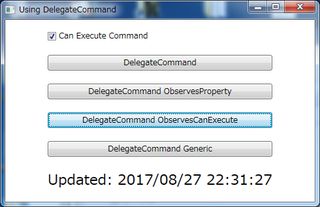
デリゲートコマンドDelegateCommand<T>を使う。Region Navigation ではViewのパスを渡すのに使われています。
public MainWindowViewModel()
{
   ExecuteDelegateCommand = new DelegateCommand(Execute, CanExecute);

   DelegateCommandObservesProperty = new DelegateCommand(Execute, CanExecute).ObservesProperty(() => IsEnabled);

   DelegateCommandObservesCanExecute = new DelegateCommand(Execute).ObservesCanExecute((vm) => IsEnabled);

   ExecuteGenericDelegateCommand = new DelegateCommand<string>(ExecuteGeneric).ObservesCanExecute((vm) => IsEnabled);
}

private void Execute()
{
   UpdateText = $"Updated: {DateTime.Now}";
}

private void ExecuteGeneric(string parameter)
{
   UpdateText = parameter;
}
実際に使ってみました 。
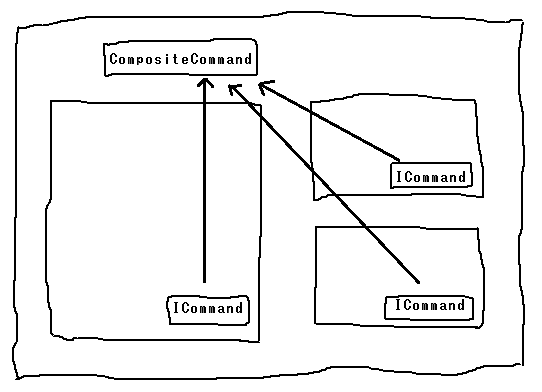
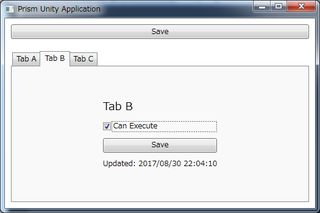
コンポジットコマンドドキュメント を確認したら、CompositeCommands側で実装されていました。
CompositeCommandクラスはチャイルドコマンド(DelegateCommandインスタンス)のリストを保持します。CompositeCommandクラスのExecuteメソッドはチャイルドコマンドのExecuteメソッドを順番に呼び出すだけです。CanExecuteメソッドも同様にチャイルドコマンドのCanExecuteメソッドを呼び出しますが、チャイルドコマンドが一つでも実行できない場合はfalseを返します。言い換えればデフォルトでCompositeCommandはチャイルドコマンドが全て実行可能な場合にのみ実行できるようになっています。
IActiveAware Commands
public class TabViewModel : BindableBase, IActiveAware
{
…
  bool _isActive;
  public bool IsActive
  {
      get { return _isActive; }
      set
      {
          _isActive = value;
          OnIsActiveChanged();
      }
  }
  private void OnIsActiveChanged()
  {
      UpdateCommand.IsActive = IsActive;
      IsActiveChanged?.Invoke(this, new EventArgs());
  }

  public event EventHandler IsActiveChanged;
}
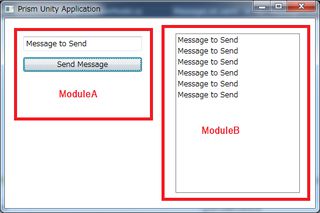
イベントアグリゲーター詳しくはドキュメント 参照。
using Prism.Events;

namespace UsingEventAggregator.Core
{
    public class MessageSentEvent : PubSubEvent<string>
    {
    }
}
イベントのpublish(ModuleA側)
_ea.GetEvent<MessageSentEvent>().Publish(Message);
イベントへのsubscribe(ModuleB側)
_ea.GetEvent<MessageSentEvent>().Subscribe(MessageReceived);
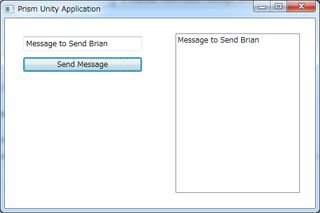
イベントアグリゲーター - イベントのフィルター
_ea.GetEvent<MessageSentEvent>().Subscribe(MessageReceived, ThreadOption.PublisherThread, false, (filter) => filter.Contains("Brian"));
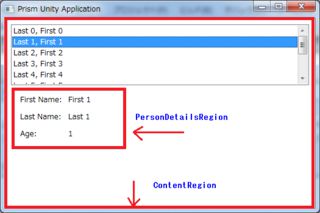
リージョンコンテキストドキュメントはこちら
<ListBox x:Name="_listOfPeople" ItemsSource="{Binding People}"/>
<ContentControl Grid.Row="1" Margin="10"
                        prism:RegionManager.RegionName="PersonDetailsRegion"
                        prism:RegionManager.RegionContext="{Binding SelectedItem, ElementName=_listOfPeople}"/>
受け取る側(PersonDetail.xaml.cs)
private void PersonDetail_PropertyChanged(object sender, System.ComponentModel.PropertyChangedEventArgs e)
{
    var context = (ObservableObject<object>)sender;
    var selectedPerson = (Person)context.Value;
    (DataContext as PersonDetailViewModel).SelectedPerson = selectedPerson;
}
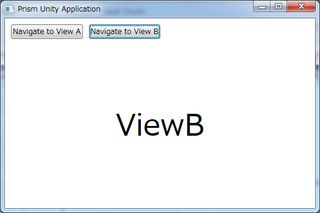
Region Navigationドキュメントはこちら
<DockPanel LastChildFill="True">
    <StackPanel Orientation="Horizontal" DockPanel.Dock="Top" Margin="5" >
        <Button Command="{Binding NavigateCommand}" CommandParameter="ViewA" Margin="5">Navigate to View A</Button>
        <Button Command="{Binding NavigateCommand}" CommandParameter="ViewB" Margin="5">Navigate to View B</Button>
    </StackPanel>
    <ContentControl prism:RegionManager.RegionName="ContentRegion" Margin="5"  />
</DockPanel>
MainWindowViewModel.cs
public DelegateCommand<string> NavigateCommand { get; private set; }

public MainWindowViewModel(IRegionManager regionManager)
{
    _regionManager = regionManager;

    NavigateCommand = new DelegateCommand<string>(Navigate);
}

private void Navigate(string navigatePath)
{
    if (navigatePath != null)
        _regionManager.RequestNavigate("ContentRegion", navigatePath);
}
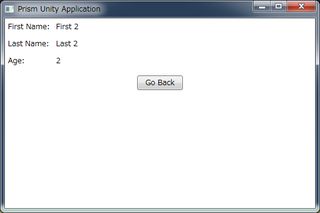
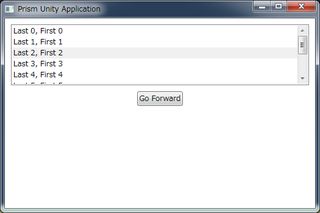
実際に使ってみました 。
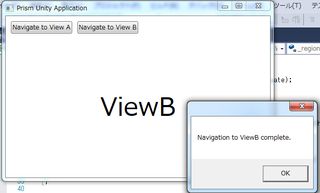
ナビゲーションコールバック
private void Navigate(string navigatePath)
{
    if (navigatePath != null)
        _regionManager.RequestNavigate("ContentRegion", navigatePath, NavigationComplete);
}

private void NavigationComplete(NavigationResult result)
{
    System.Windows.MessageBox.Show(String.Format("Navigation to {0} complete. ", result.Context.Uri));
}
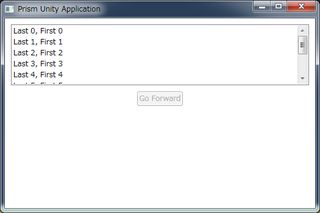
RequestNavigateメソッドにナビゲーションが完了した時に呼ばれるコールバックメソッドあるいはデリゲートを指定できる。こちらの下の方 使ってみました 。
Navigationへの参加
public interface INavigationAware
{
    // ViewやViewModelがリクエストに応えられるかどうかを示す
    // 同じViewやViewModelを使いまわす時に利用
    // 20-NavigateToExistingViews参照
    bool IsNavigationTarget(NavigationContext navigationContext);

    // ナビゲーション前に実行される
    // 状態やデータの保存等、Viewが閉じられても大丈夫なようにしておくのに利用
    void OnNavigatedTo(NavigationContext navigationContext);

    // ナビゲーション完了後に実行される
    // 新しく表示されるViewにデータを渡すのに利用
    // 21-PassingParameters参照
    void OnNavigatedFrom(NavigationContext navigationContext);
}
ViewあるいはViewModelで実装。ViewModelの方が一般的。サンプルもViewModel側。ドキュメント 参照。
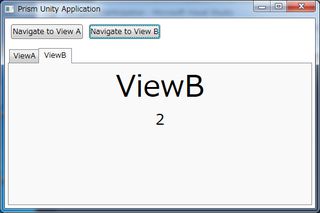
既存のViewsへのナビゲーション
public bool IsNavigationTarget(NavigationContext navigationContext)
{
    return PageViews / 3 != 1;
}
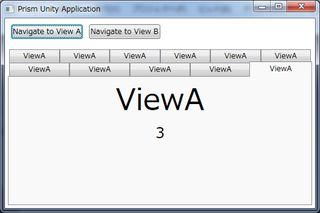
IsNavigationTargetがfalseの時に新たなタブViewが追加されます。こちら 。
パラメータを渡す
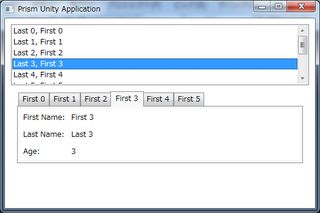
private void PersonSelected(Person person)
{
    var parameters = new NavigationParameters();
    // パラメータとしてIDだけでなくオブジェクト丸ごと渡すこともできる
    parameters.Add("person", person);

    if (person != null)
        _regionManager.RequestNavigate("PersonDetailsRegion", "PersonDetail", parameters);
}
受け取る側(PersonDetailViewModel.cs)
public void OnNavigatedTo(NavigationContext navigationContext)
{
    var person = navigationContext.Parameters["person"] as Person;
    if (person != null)
        SelectedPerson = person;
}

public bool IsNavigationTarget(NavigationContext navigationContext)
{
    // 一覧で選択されているのと同じLastNameのViewだとtrueになって再利用
    // 同じデータ(Person)を複数開かない→複数のPersonを同時に編集させる時に便利
    // IsNavigationTargetと言うネーミングがやっと理解できた…
    var person = navigationContext.Parameters["person"] as Person;
    if (person != null)
        return SelectedPerson != null && SelectedPerson.LastName == person.LastName;
    else
        return true;
}
サンプルのOnNavigatedFromでは使われていませんが、同様に使用可能です。こちら 。
コンファーム/キャンセル ナビゲーション
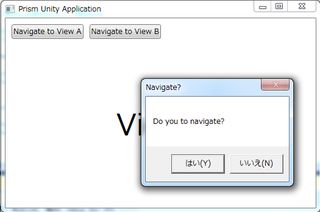
public class ViewAViewModel : BindableBase, IConfirmNavigationRequest
{
    public ViewAViewModel()
    {
    }

    public void ConfirmNavigationRequest(NavigationContext navigationContext, Action<bool> continuationCallback)
    {
        bool result = true;

        if (MessageBox.Show("Do you to navigate?", "Navigate?", MessageBoxButton.YesNo) == MessageBoxResult.No)
            result = false;

        continuationCallback(result);
    }

    public bool IsNavigationTarget(NavigationContext navigationContext)
    {
    …
}
IConfirmNavigationRequestはINavigationAwareにConfirmNavigationRequestを追加したもの。こちら 。
Viewの生存期間をコントロールする
public class ViewAViewModel : BindableBase, INavigationAware, IRegionMemberLifetime
{
    public ViewAViewModel()
    {
    }
    public bool KeepAlive
    {
        get
        {
            return false;
        }
    }
…
}
Navigation Journalこちら 。
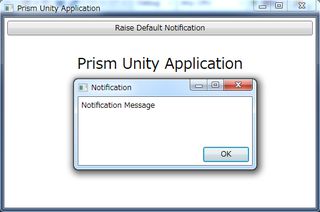
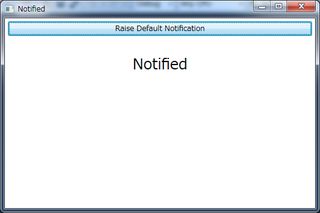
インタラクティビティ - NotificationRequestオブザーバーパターン の一種だそうです。利用
public MainWindowViewModel()
{
    NotificationRequest = new InteractionRequest<INotification>();
    NotificationCommand = new DelegateCommand(RaiseNotification);
}

void RaiseNotification()
{
    NotificationRequest.Raise(new Notification { Content = "Notification Message", Title = "Notification" }, r => Title = "Notified");
}
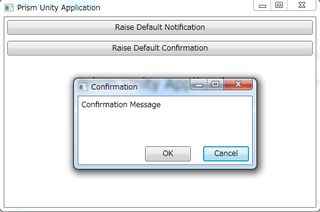
インタラクティビティ - ConfirmationRequest
public MainWindowViewModel()
{
    …
    ConfirmationRequest = new InteractionRequest<IConfirmation>();
    ConfirmationCommand = new DelegateCommand(RaiseConfirmation);
}
…
void RaiseConfirmation()
{
    ConfirmationRequest.Raise(new Confirmation {
        Title = "Confirmation",
        Content = "Confirmation Message" },
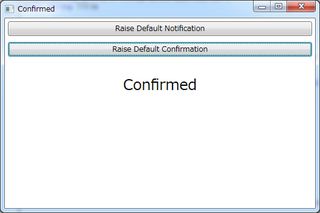
        r => Title = r.Confirmed ? "Confirmed" : "Not Confirmed");
}
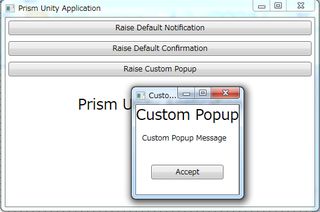
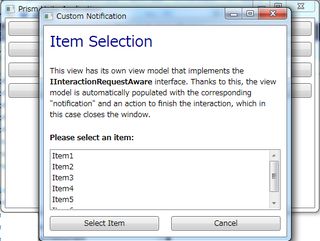
インタラクティビティ - カスタムコンテント
<StackPanel>
    <TextBlock Text="{Binding Title}" FontSize="24" HorizontalAlignment="Center" />
    <TextBlock Text="{Binding Content}" Margin="10"/>
    <Button Margin="25" Click="Button_Click">Accept</Button>
</StackPanel>
MainWindowから呼び出す
<prism:InteractionRequestTrigger SourceObject="{Binding CustomPopupRequest}">
    <prism:PopupWindowAction IsModal="True" CenterOverAssociatedObject="True">
        <prism:PopupWindowAction.WindowContent>
            <views:CustomPopupView />
        </prism:PopupWindowAction.WindowContent>
    </prism:PopupWindowAction>
</prism:InteractionRequestTrigger>
実際に使ってみました 。
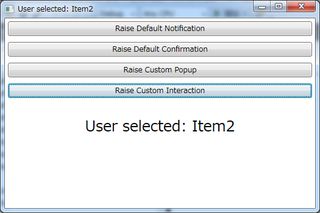
インタラクティビティ - Custom Request
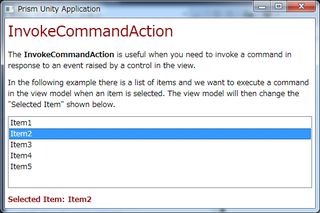
インタラクティビティ - InvokeCommandAction
